No I'm not getting lazy - I'm just busy.
Here's the stiletto on it own before I customized it to a Louboutin shoe. So you can use the same tutorial until here for a stiletto.

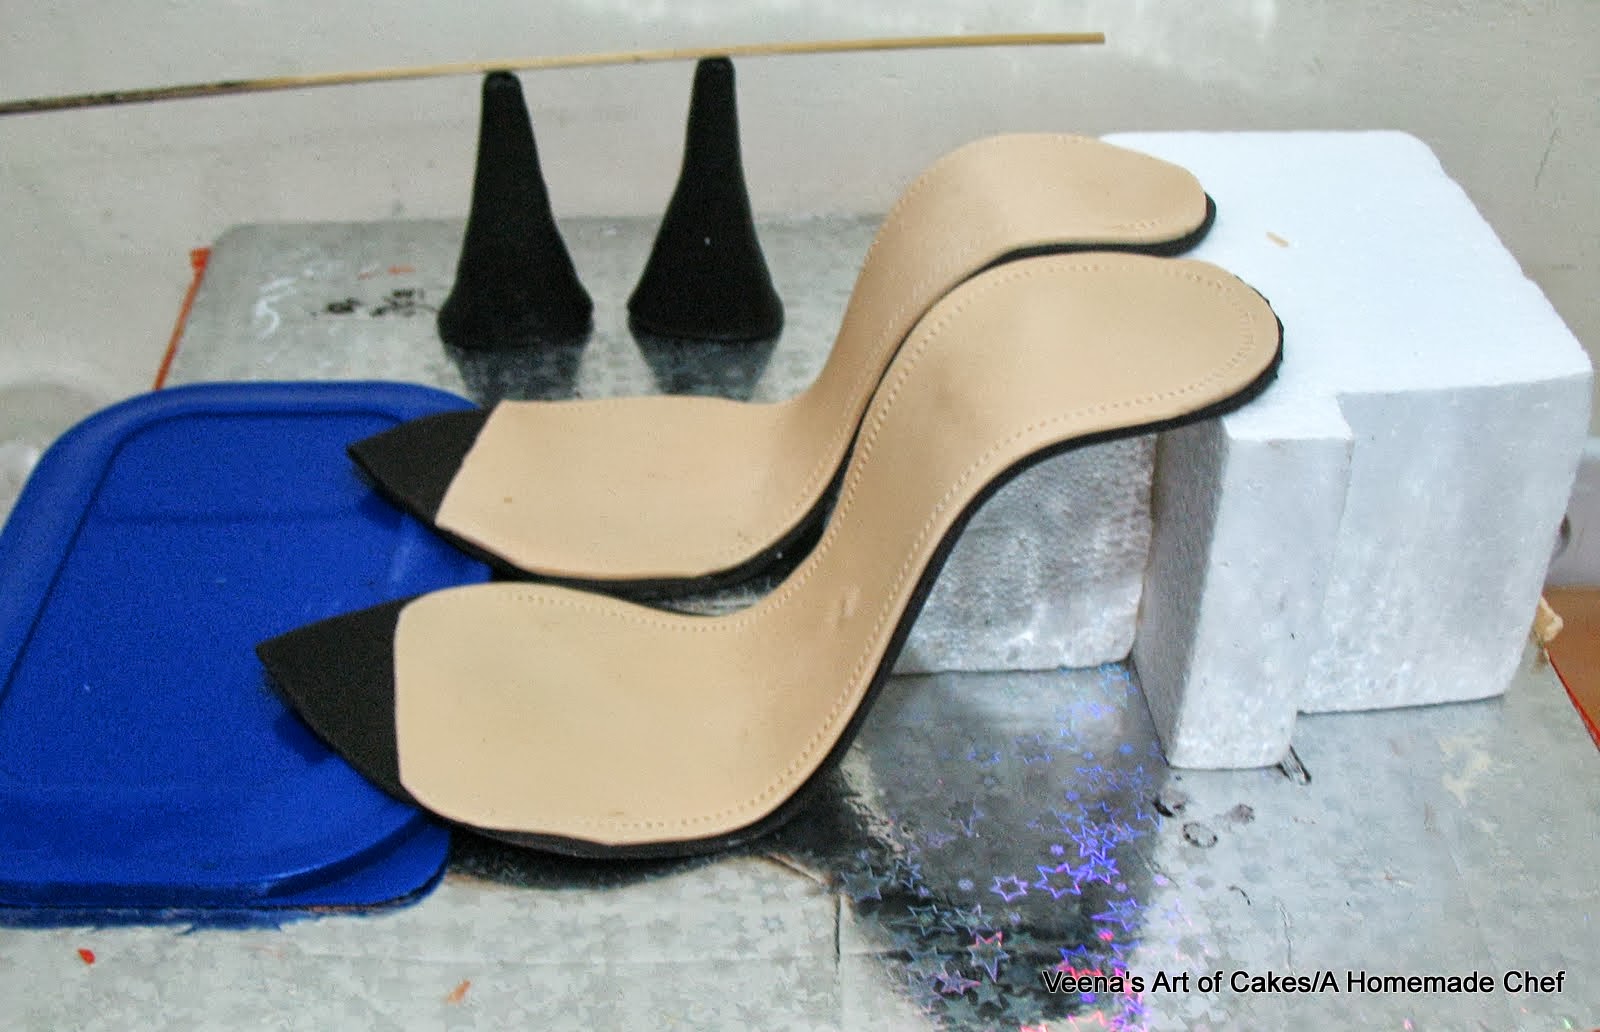
First - Making a former
I just use a foam block and cut it to this shape so I could rest my sole on. The height will be the height of the shoe.
If you do not do shoes often or do not want to buy the former you could also use gumpaste or play dough. Shape it like so and wrap it well in cling wrap. That way it won't dry out and you can still re-use it..
it's a pretty simple shape so don't go fussing about it.

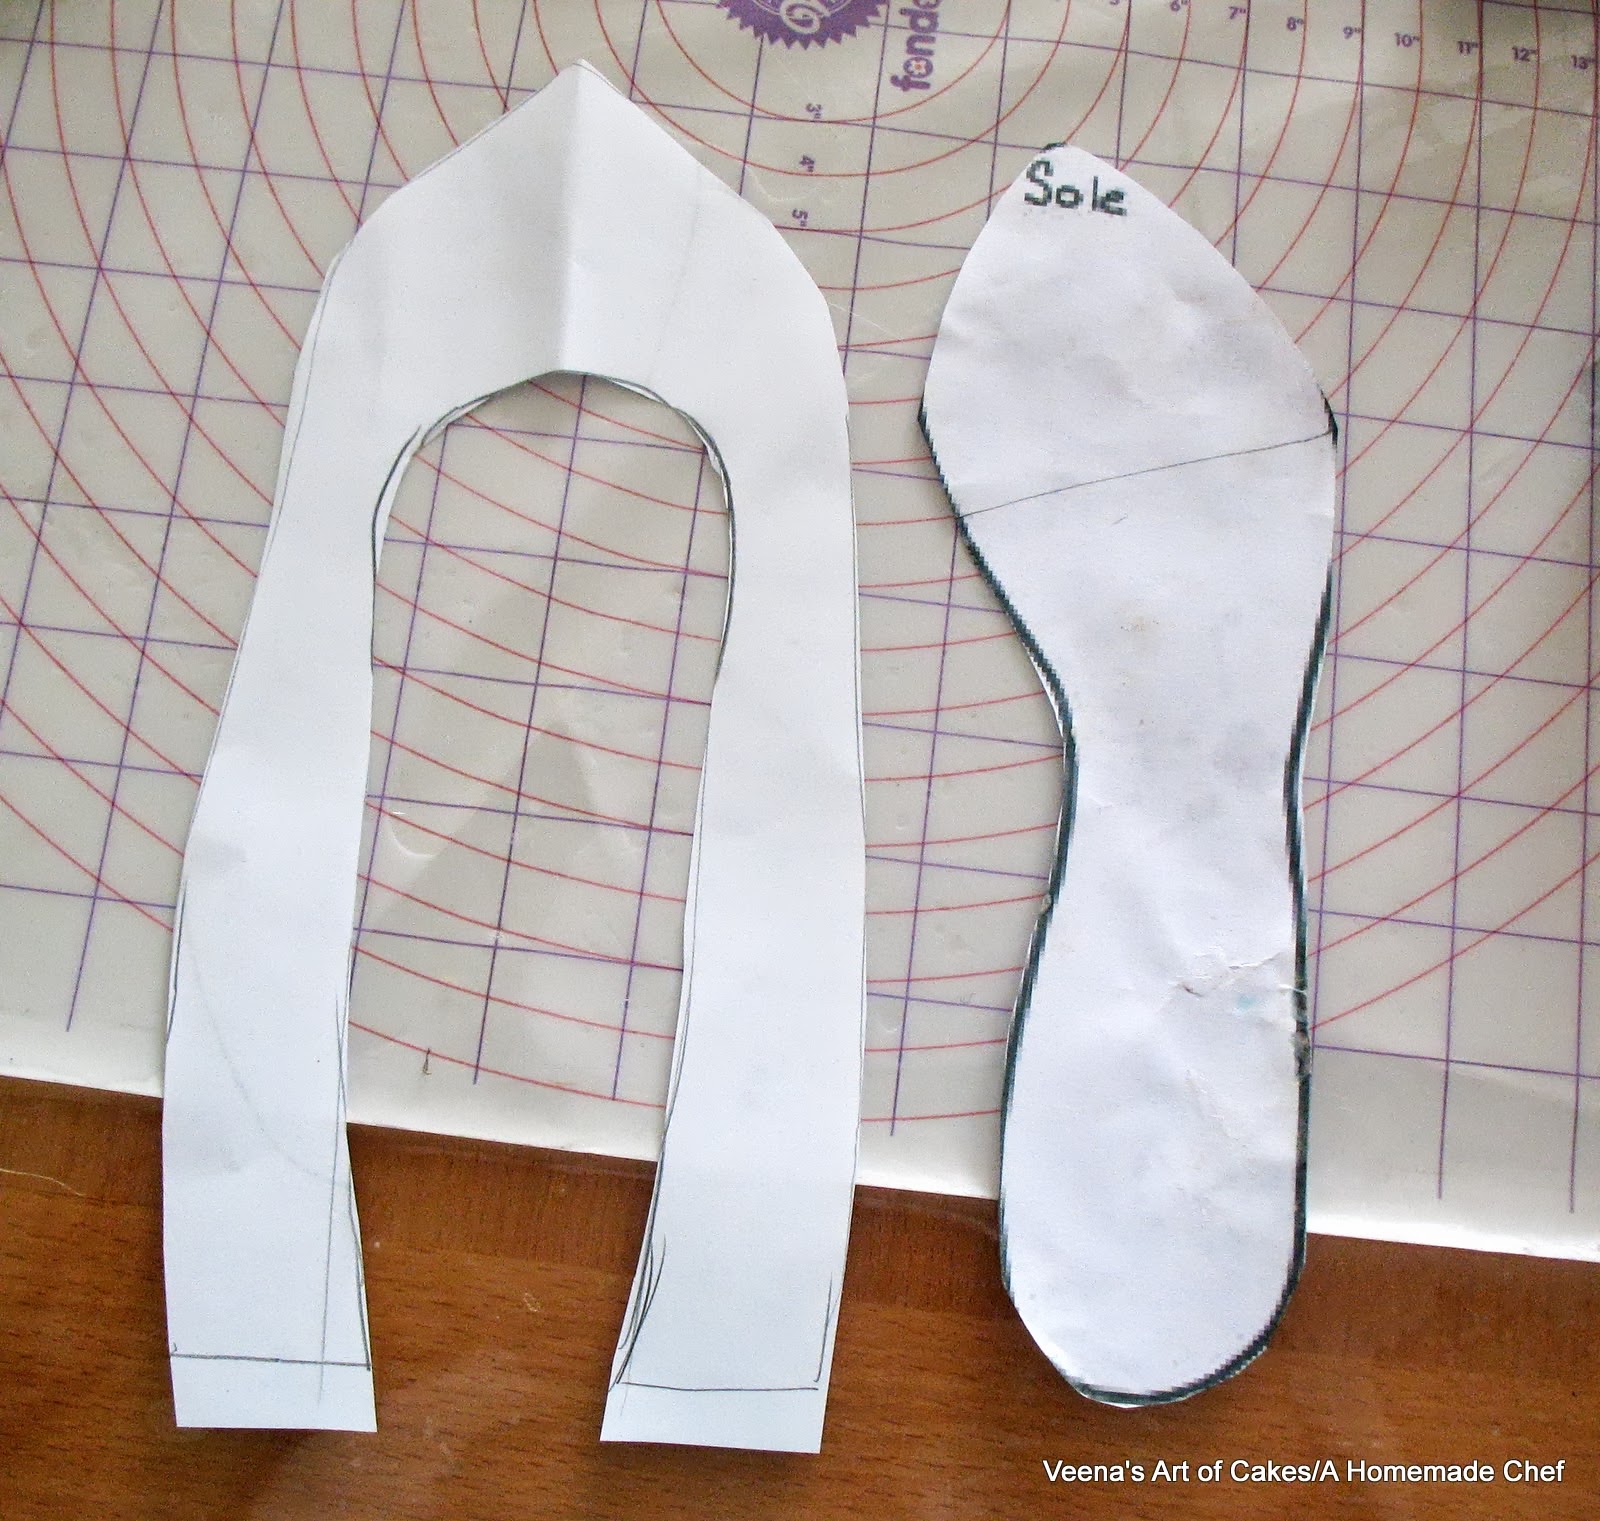
Next get your template ready.
The first time I did a shoe I used my own shoe to draw a template of the base and the top was a strap so I did not need a template.
Perhaps on a future post I will share how to make your own template as well as how to customize these templates.
This one you can find on Cake Central. Just type 'closed shoe template' on google images and you will find plenty.
You may need to customize the template a bit to suit your shoe shape.
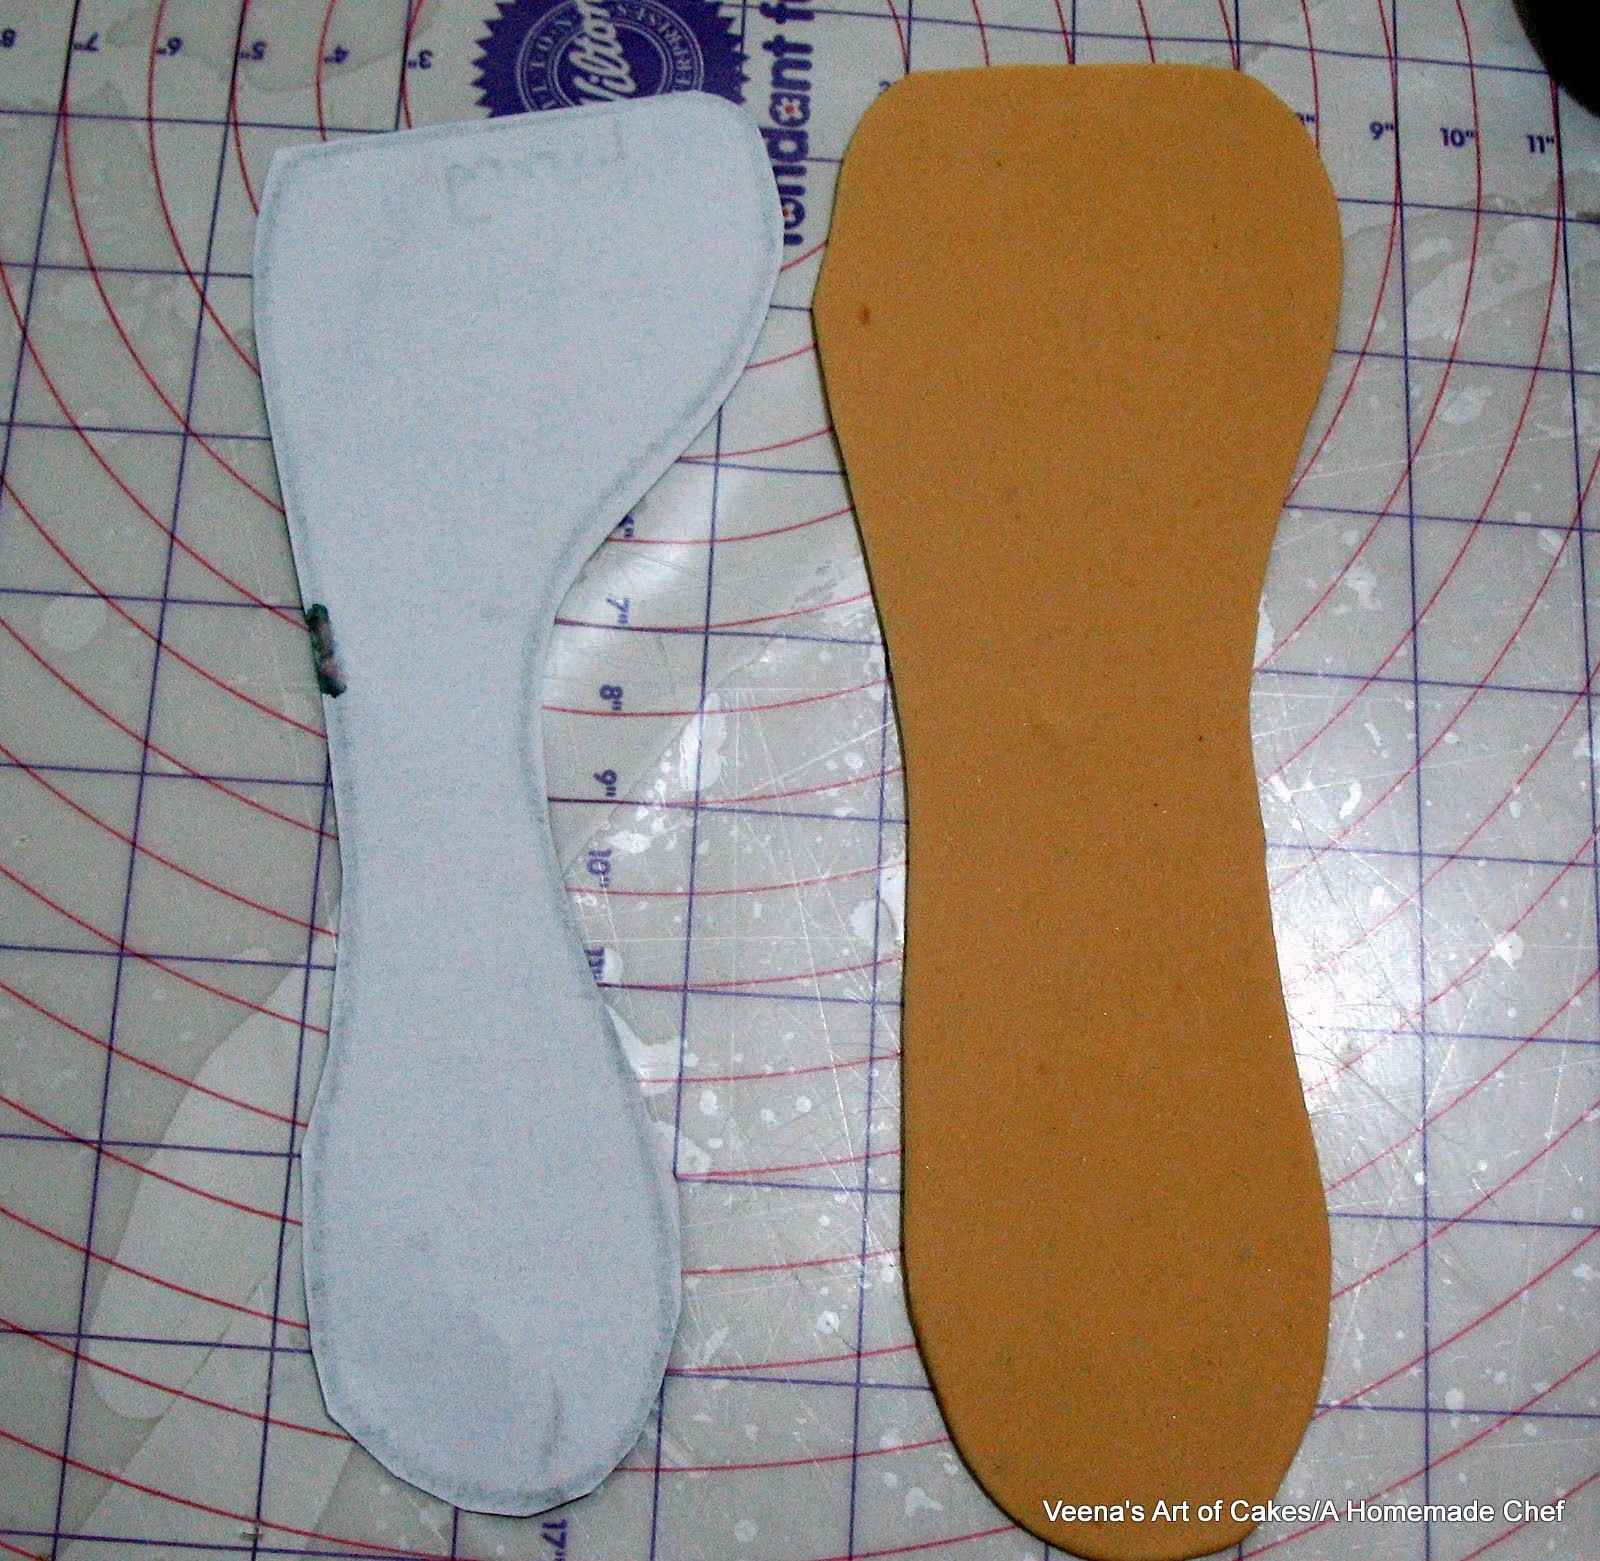
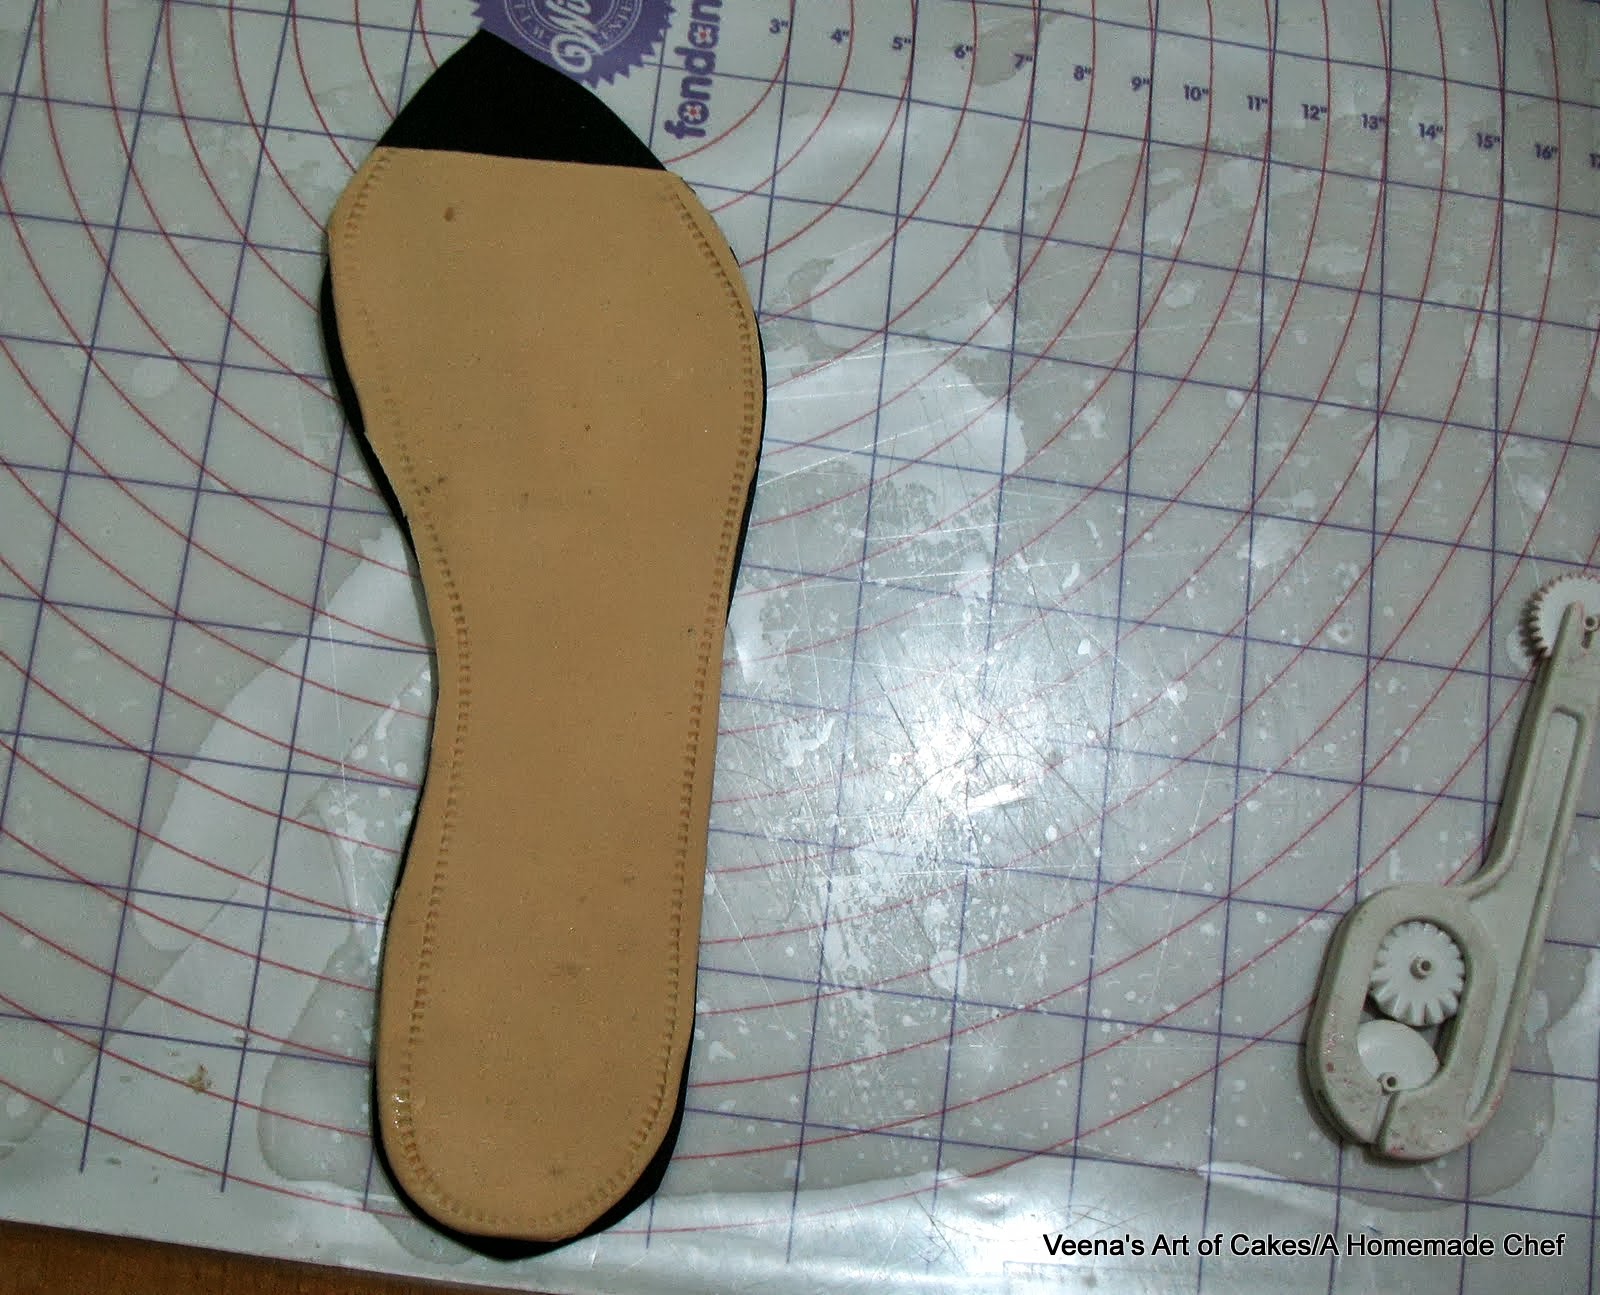
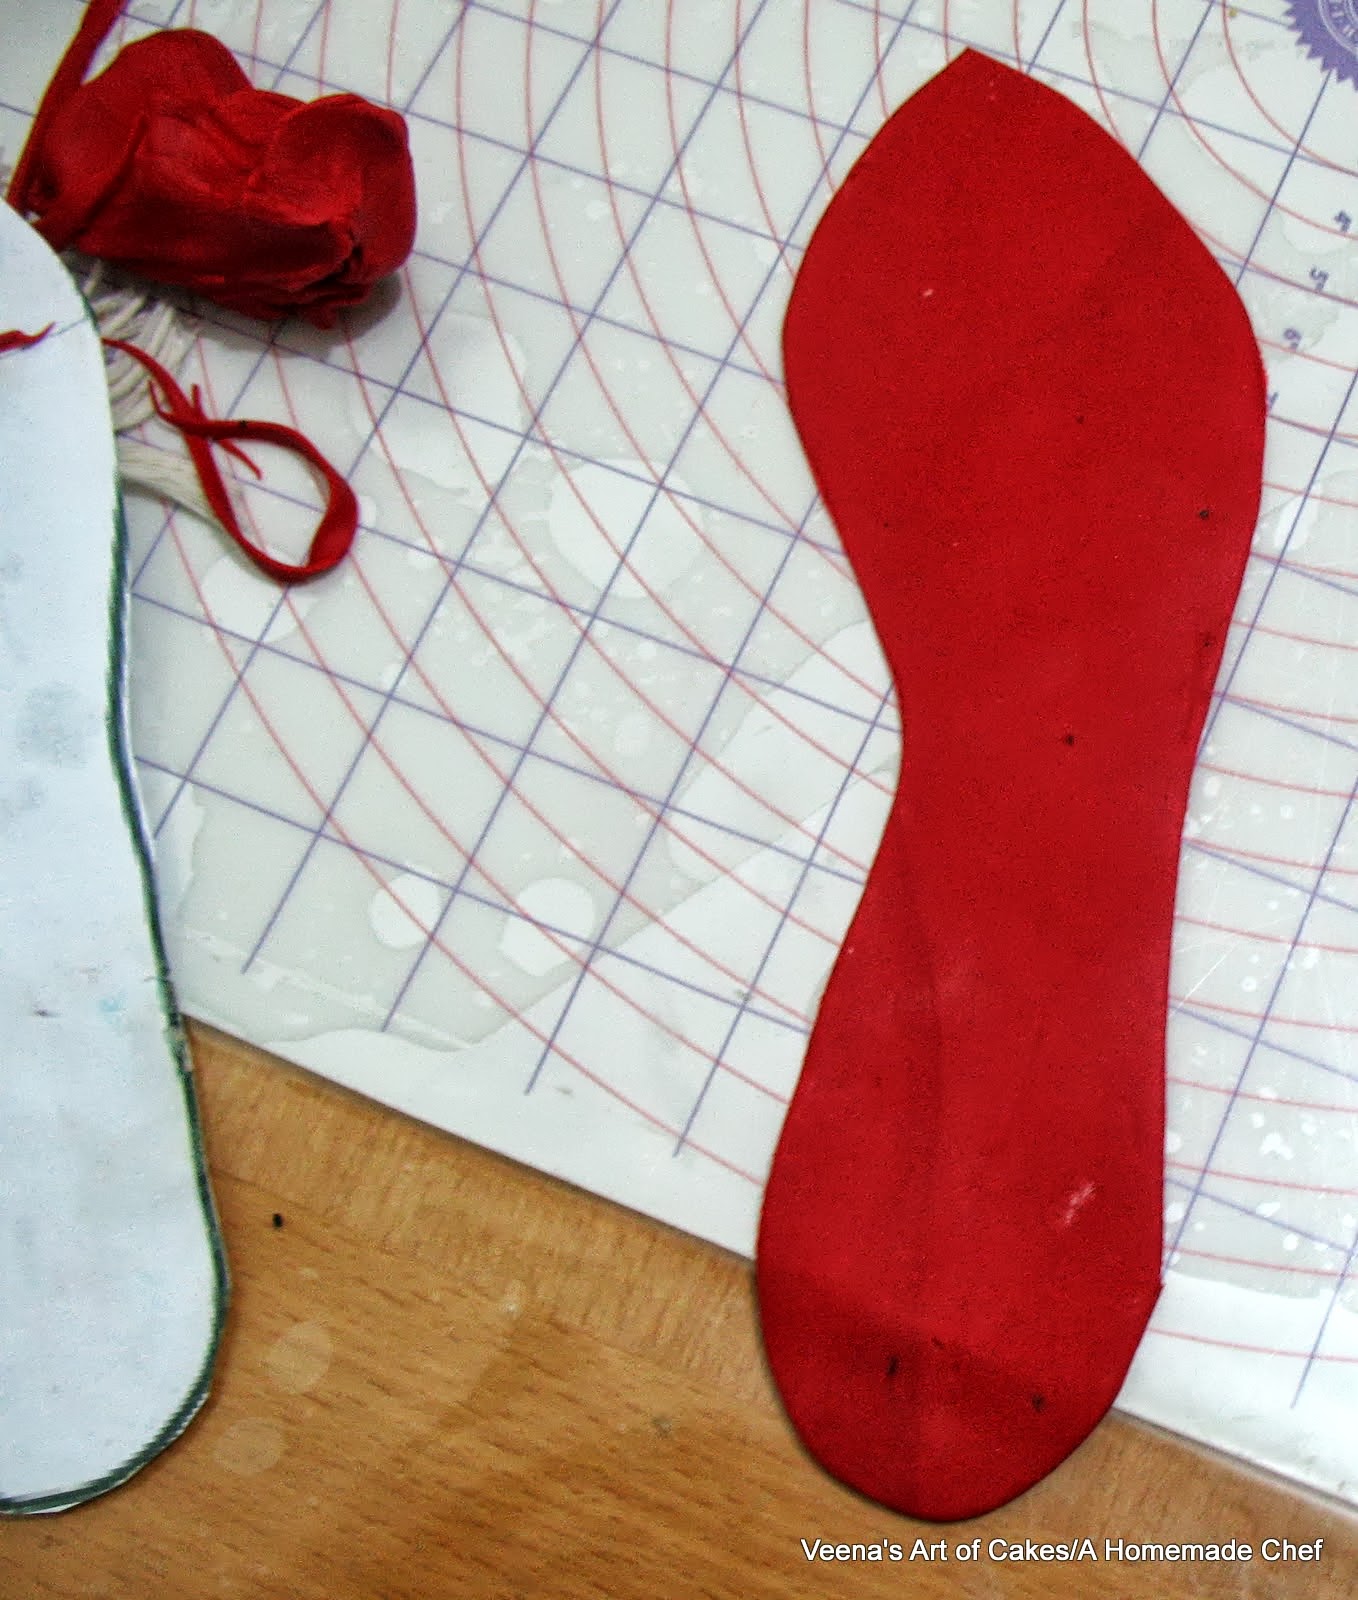
Making the Sole - First method.
Use your template and cut out the sole.
I my shoe the sole is all the same thickness.
In some you get the front this and the back thin or vise versa. Do that if you need ... Just roll it as per your design and then cut with the same template.

Here is my cut sole.

Place it on the former you prepared like so.
Notice I have kept is such that I have enough space to add the heel too.
Keep that in mind when making your heel too. They have to fit together.

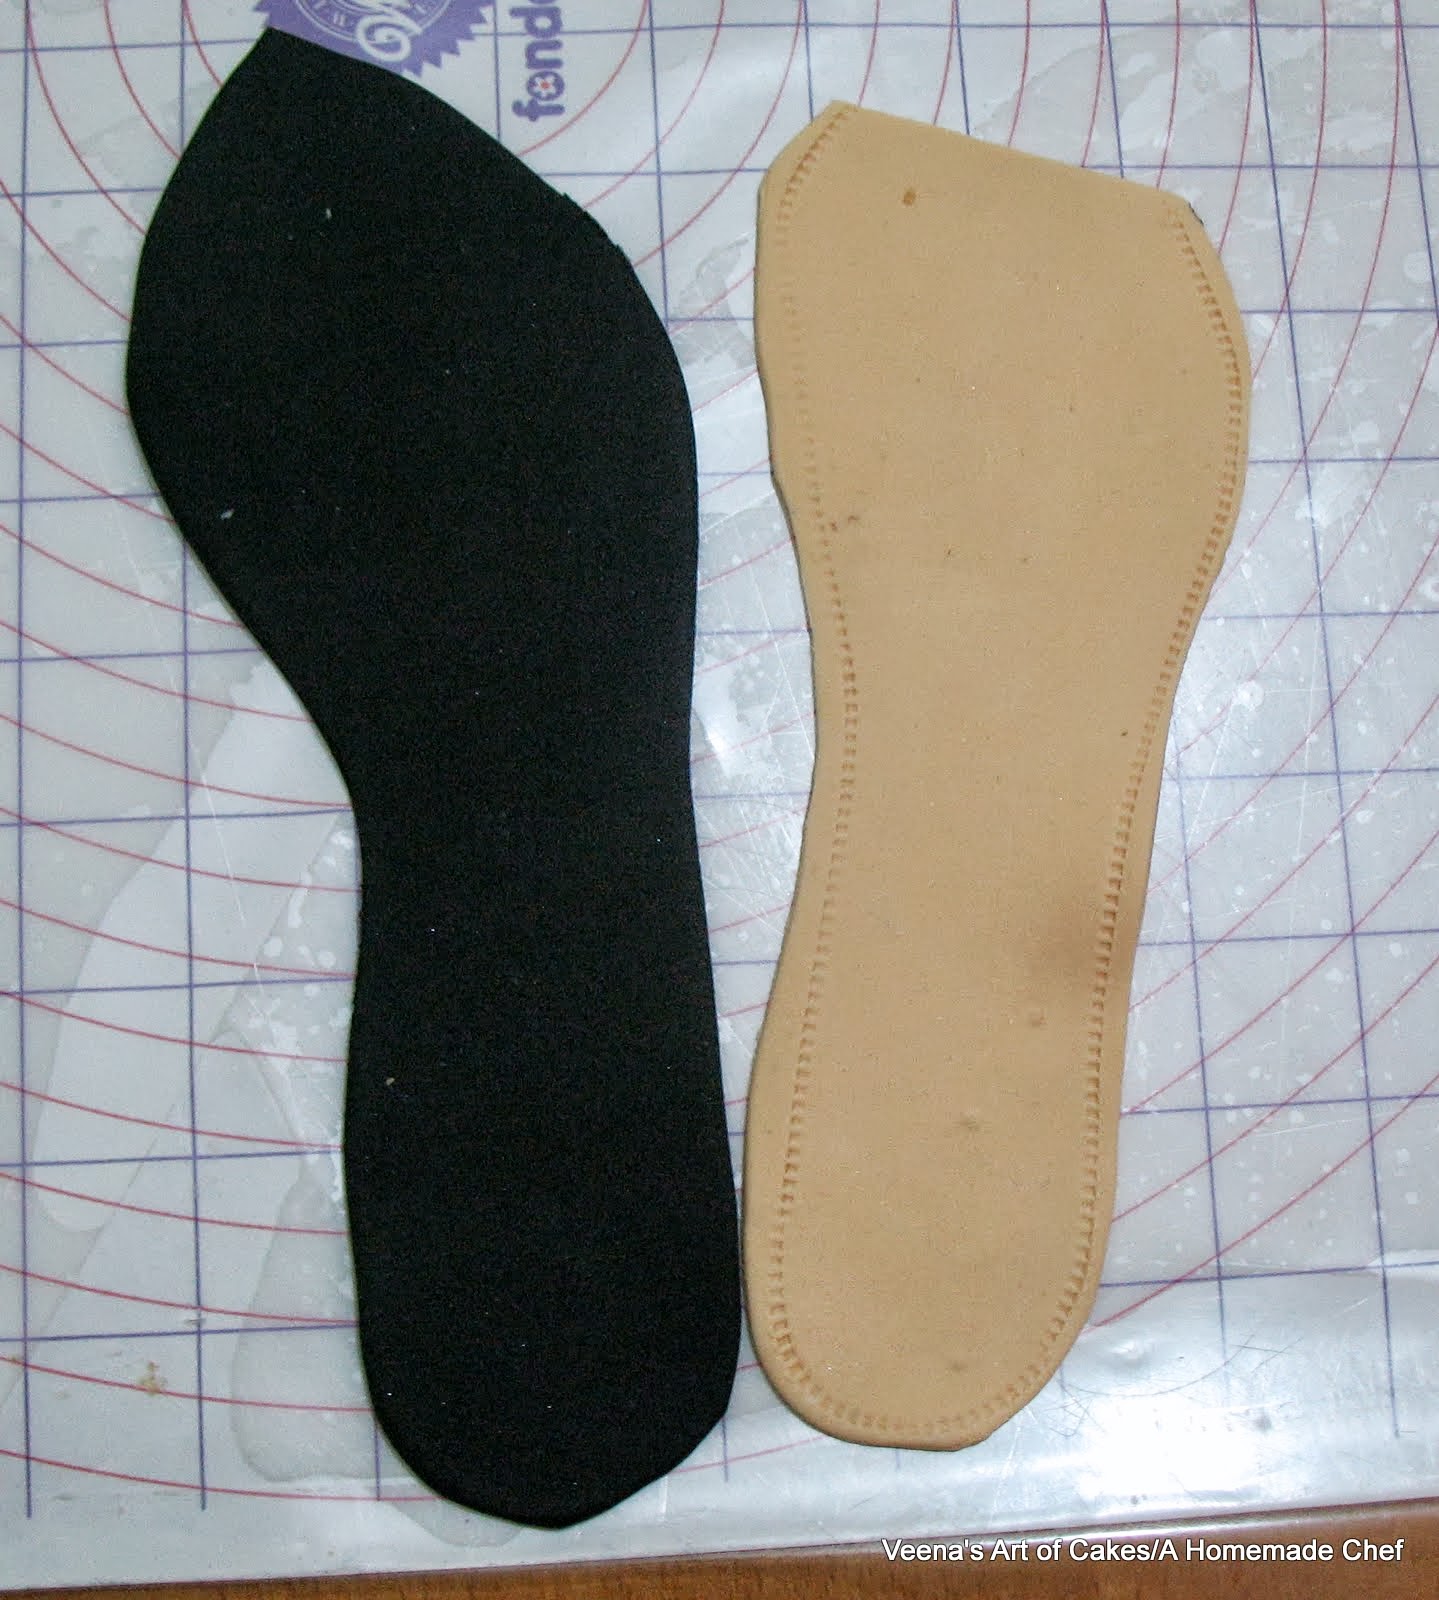
Make the In-Sole.
You can use the same template above. Cut the above sole, then cut around the edges making it smaller than the outer sole and you will have the insole
OR you can get a template on line too.
Making the Sole and In-sole - Second method.
For the second shoe I did both the sole and insole together, glue them and then put them on the former.
Gluing them together.
Dry the sole completely.
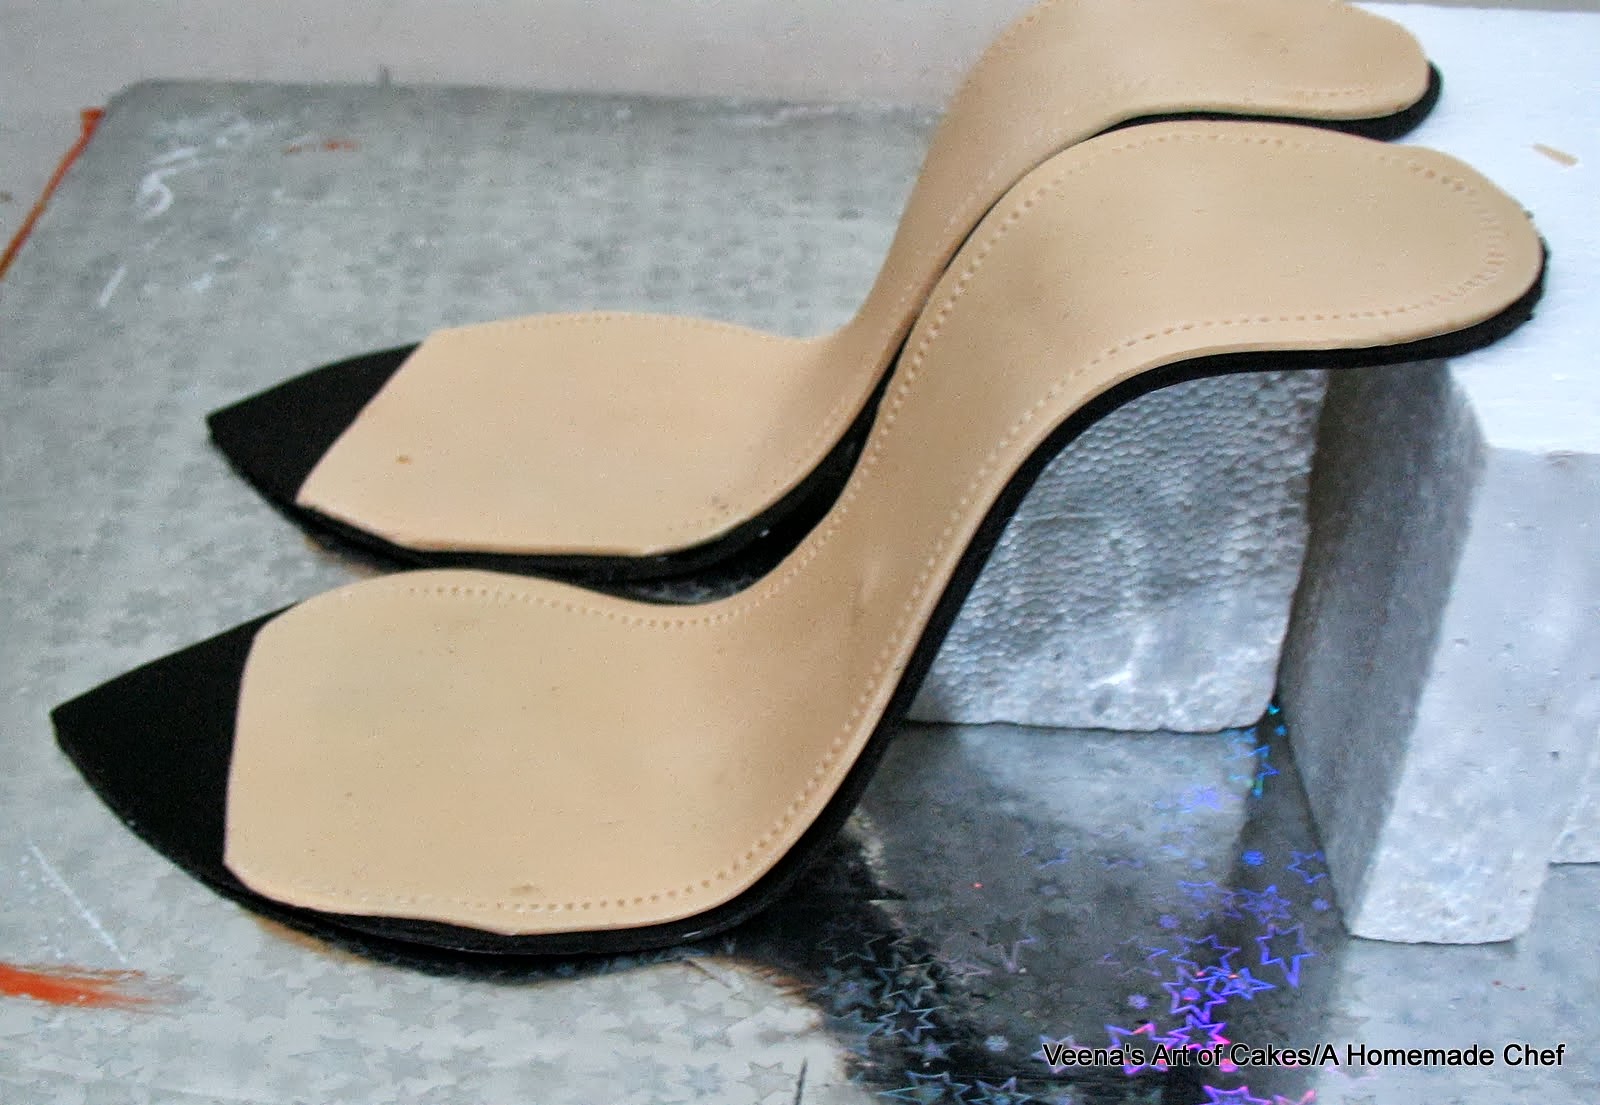
On the former.. Both methods - same outcome. Just preference of working.

Here is the side view.
Next - Make the heel.
Now heels come in different and weird shapes too. So don't fret about it so much. Just make sure you have both the same size, height and shape.
Make a ball.. start rolling a sausage - then tapper that sausage on one side making it longer until you have the length you need.
Cut off any excess.
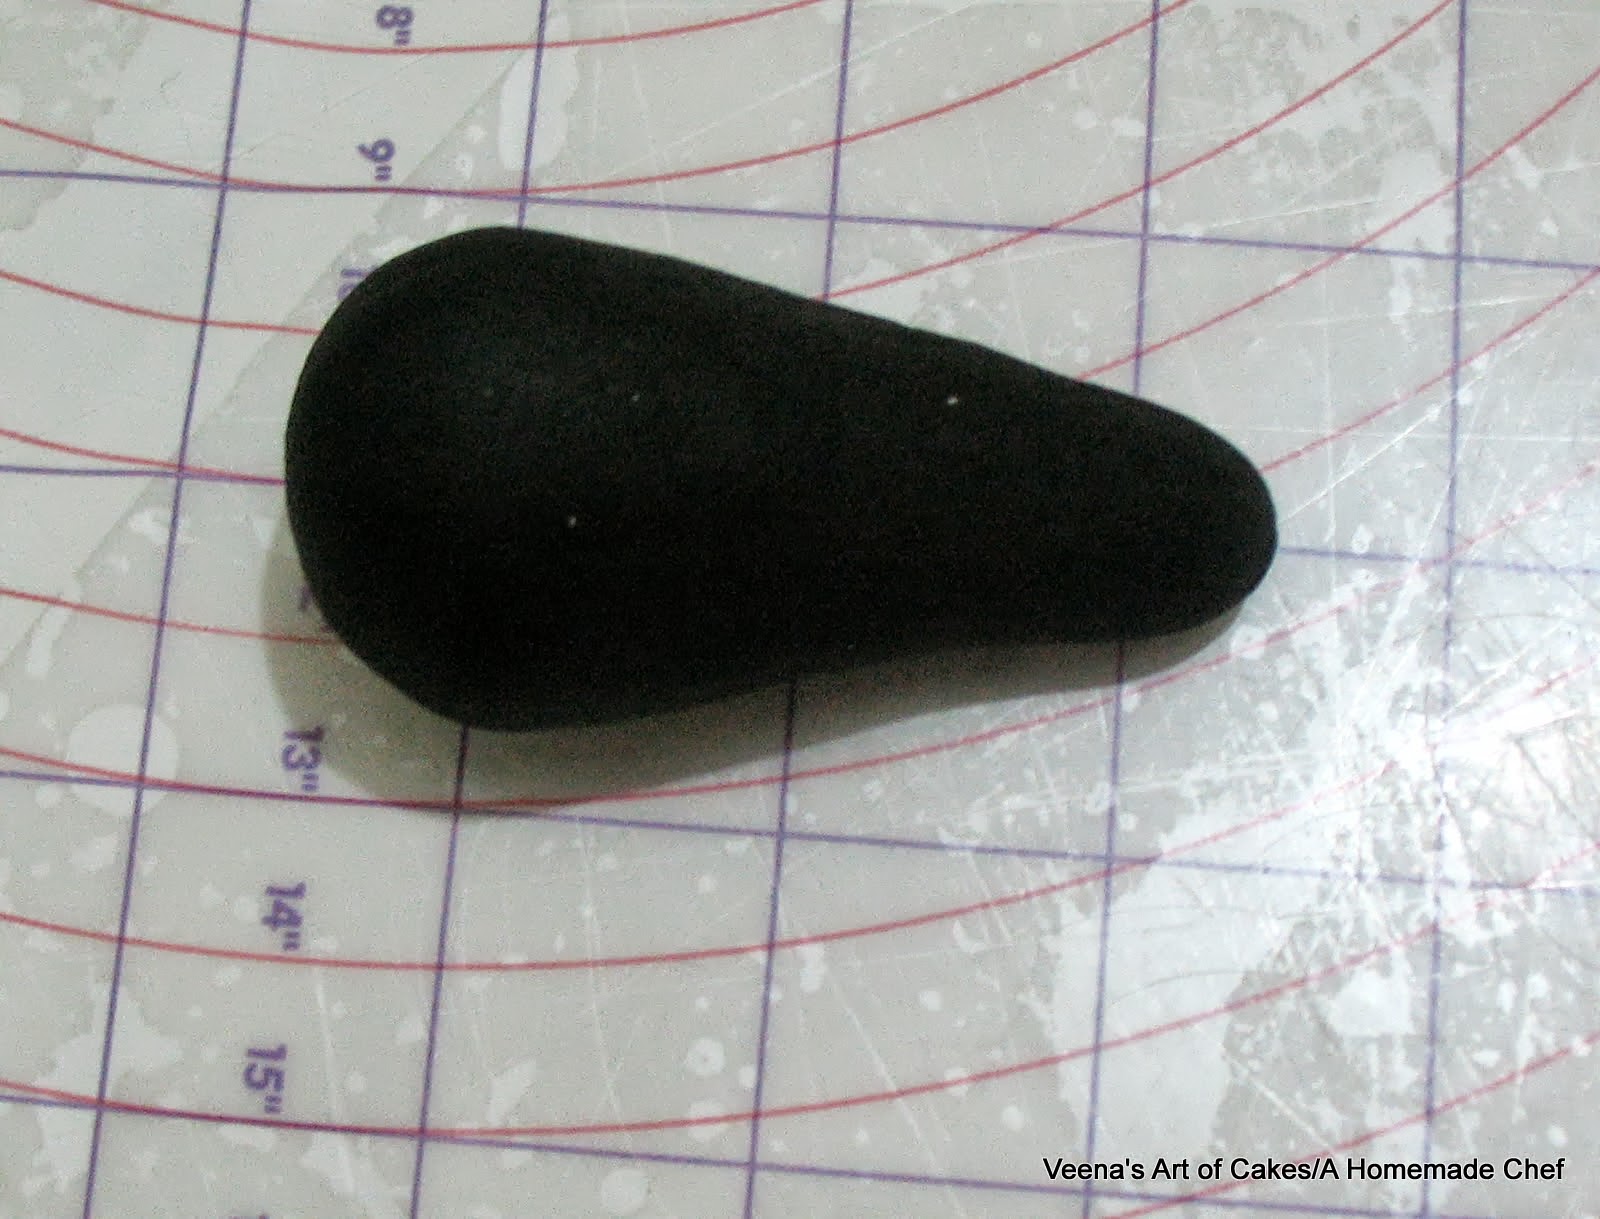
Next press toward the bottom making the bottom flat and the top rounded.
Hold the heal upside down on the table and give it a 45 degree angle.
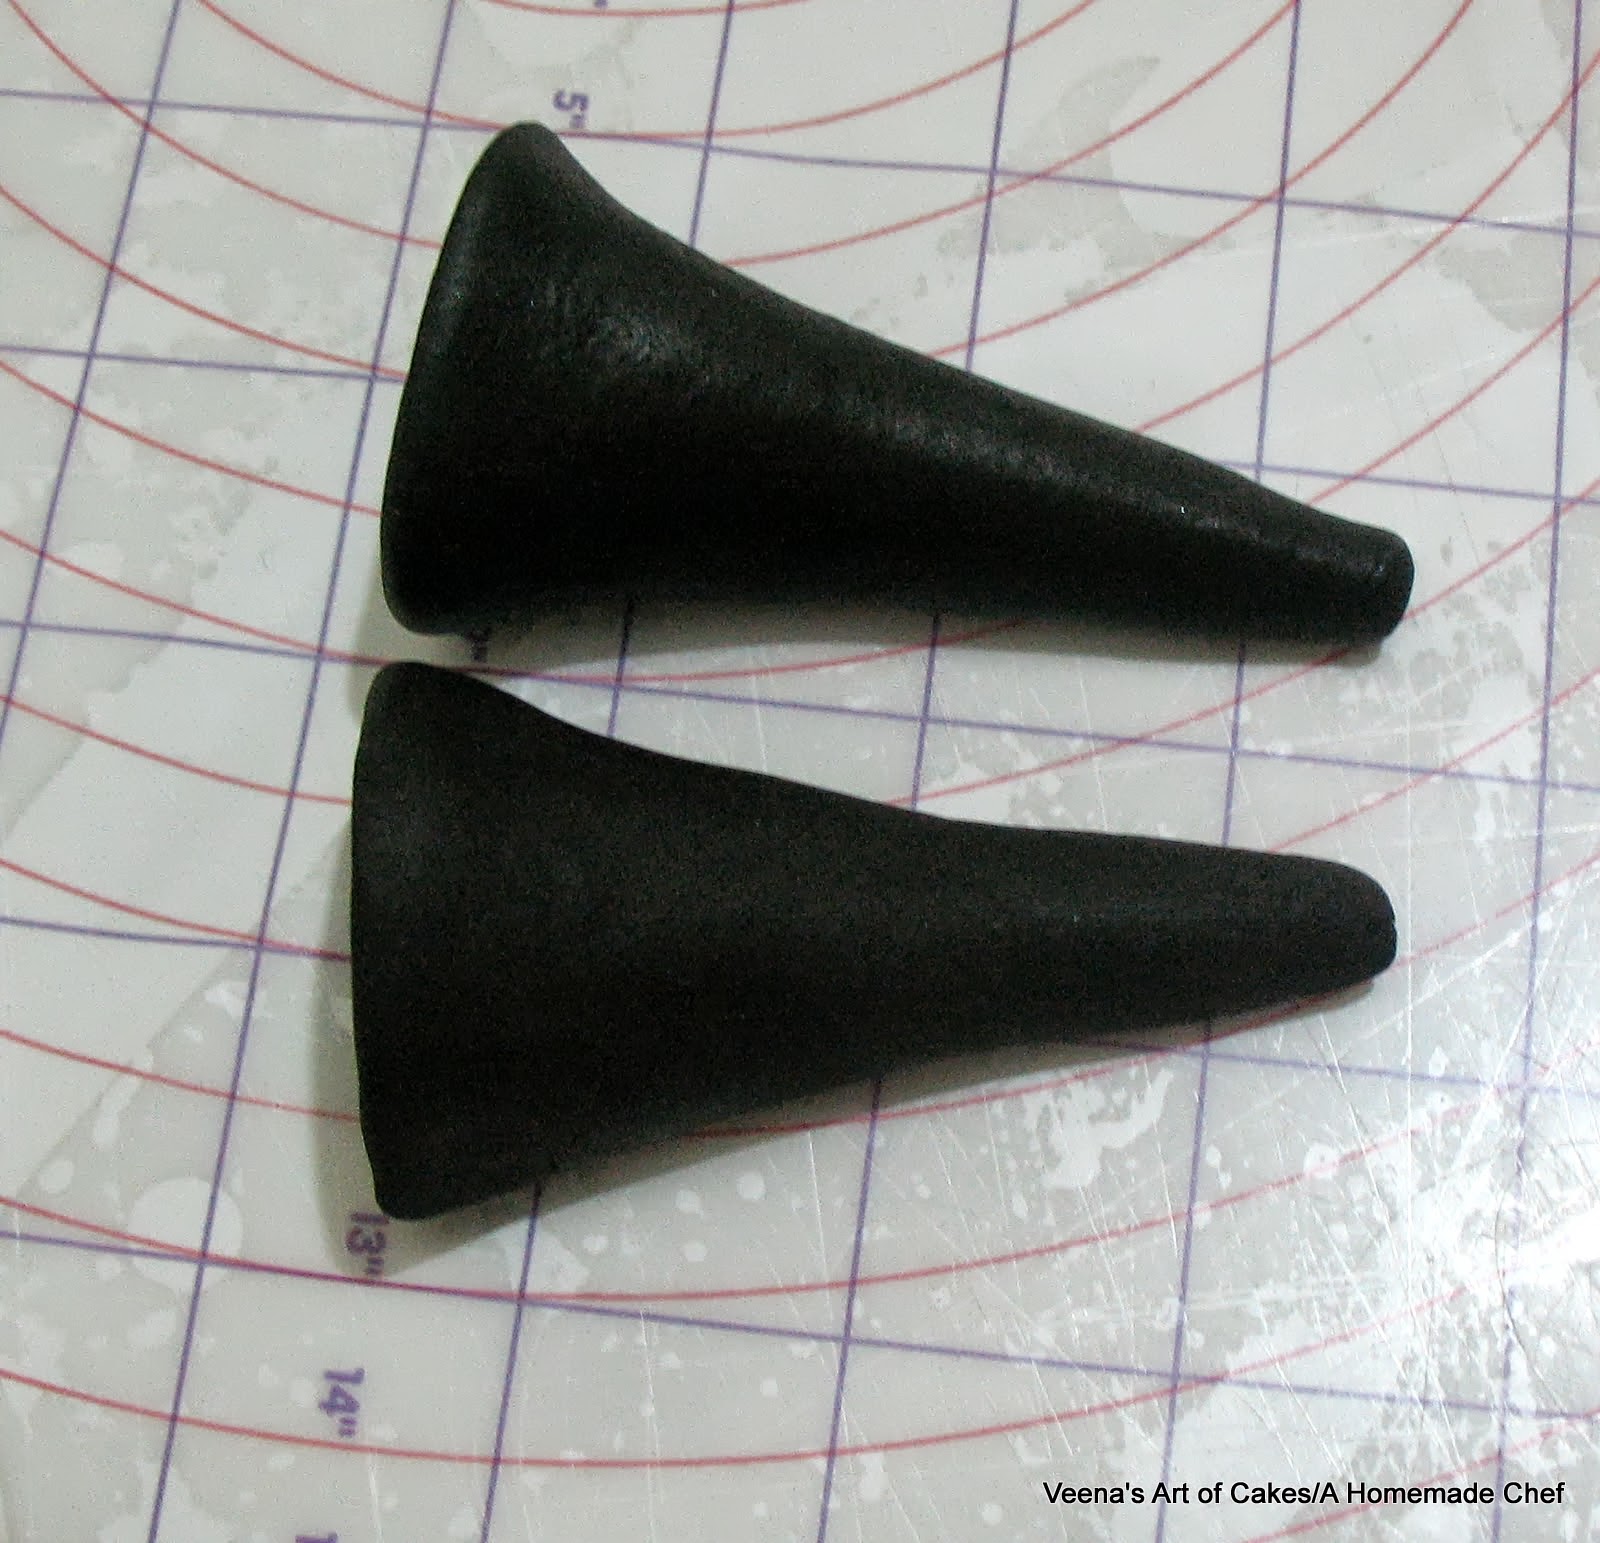
Dip your skewer in veg shortening or glue and insert. This will make the hole for your.
Even if you do not need them it is a good idea to make the holes You may always change your mind and need them.

Then let it all dry completely before the next step.
Next - make the top of the shoe. - Two methods
Again you can do it two ways.
First method - Using the template cut out both the colors.
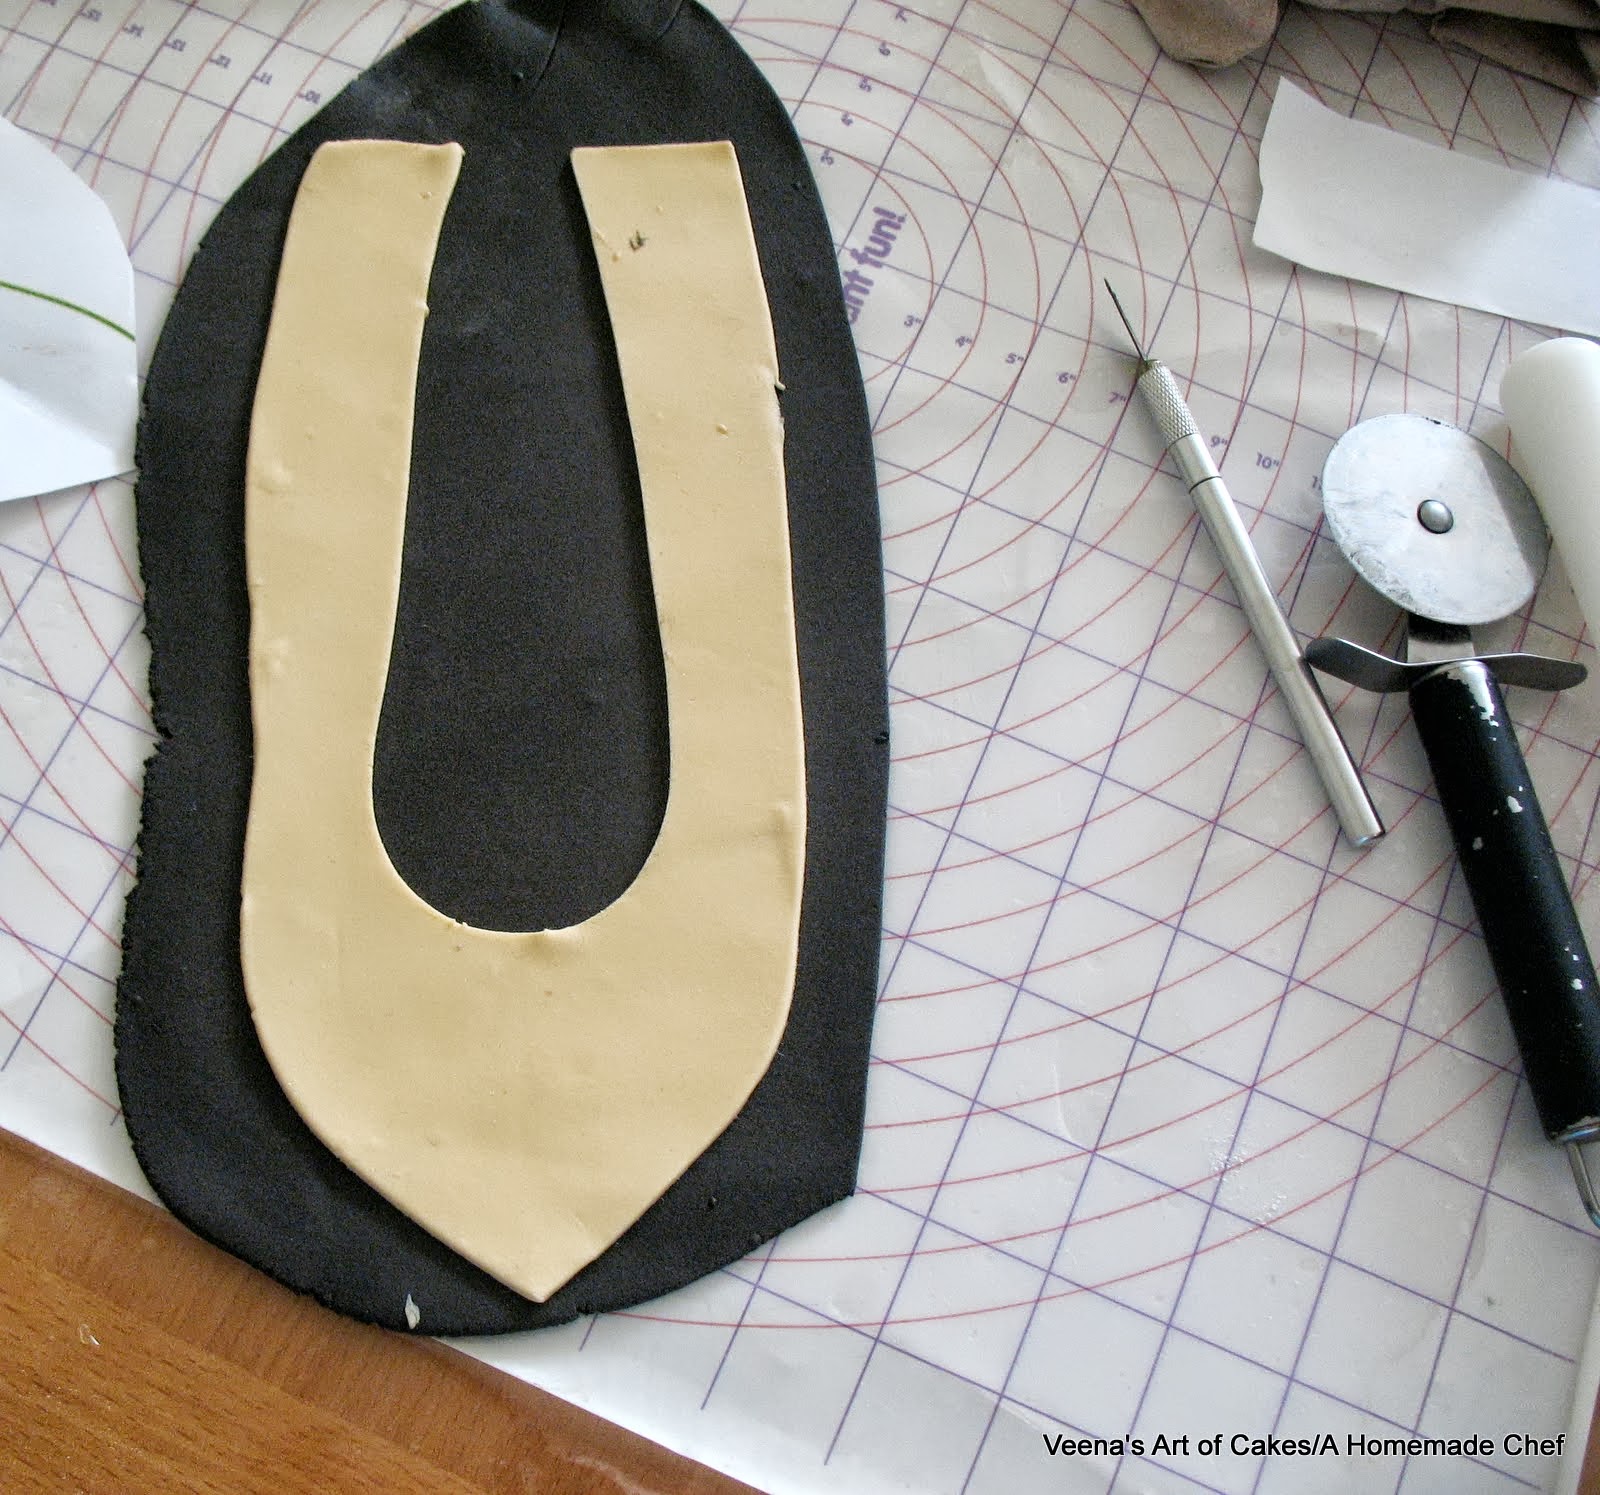
Make sure they are glued together well so you have no air pockets.
Use a rolling pin and slightly roll the edges all around. this will make it easier to tuck it under.
Now, I won't lie to you - This looks easy but it did gave me a hard time.. It is rather difficult to work fast and neat but it can be done.
Important - make sure your paste is thin. Thick paste tends to be more difficult. make sure you work fast or you will have elephants skin or cracks on the paste.

Place on the shoe and start tucking under with gum glue. Notice I have put some tissue paper first so as to help hold the paste up.

Lots of tissue paper indeed.
Notice - this really looks untidy now..! Just use a damp paper towel to wipe off those stains.

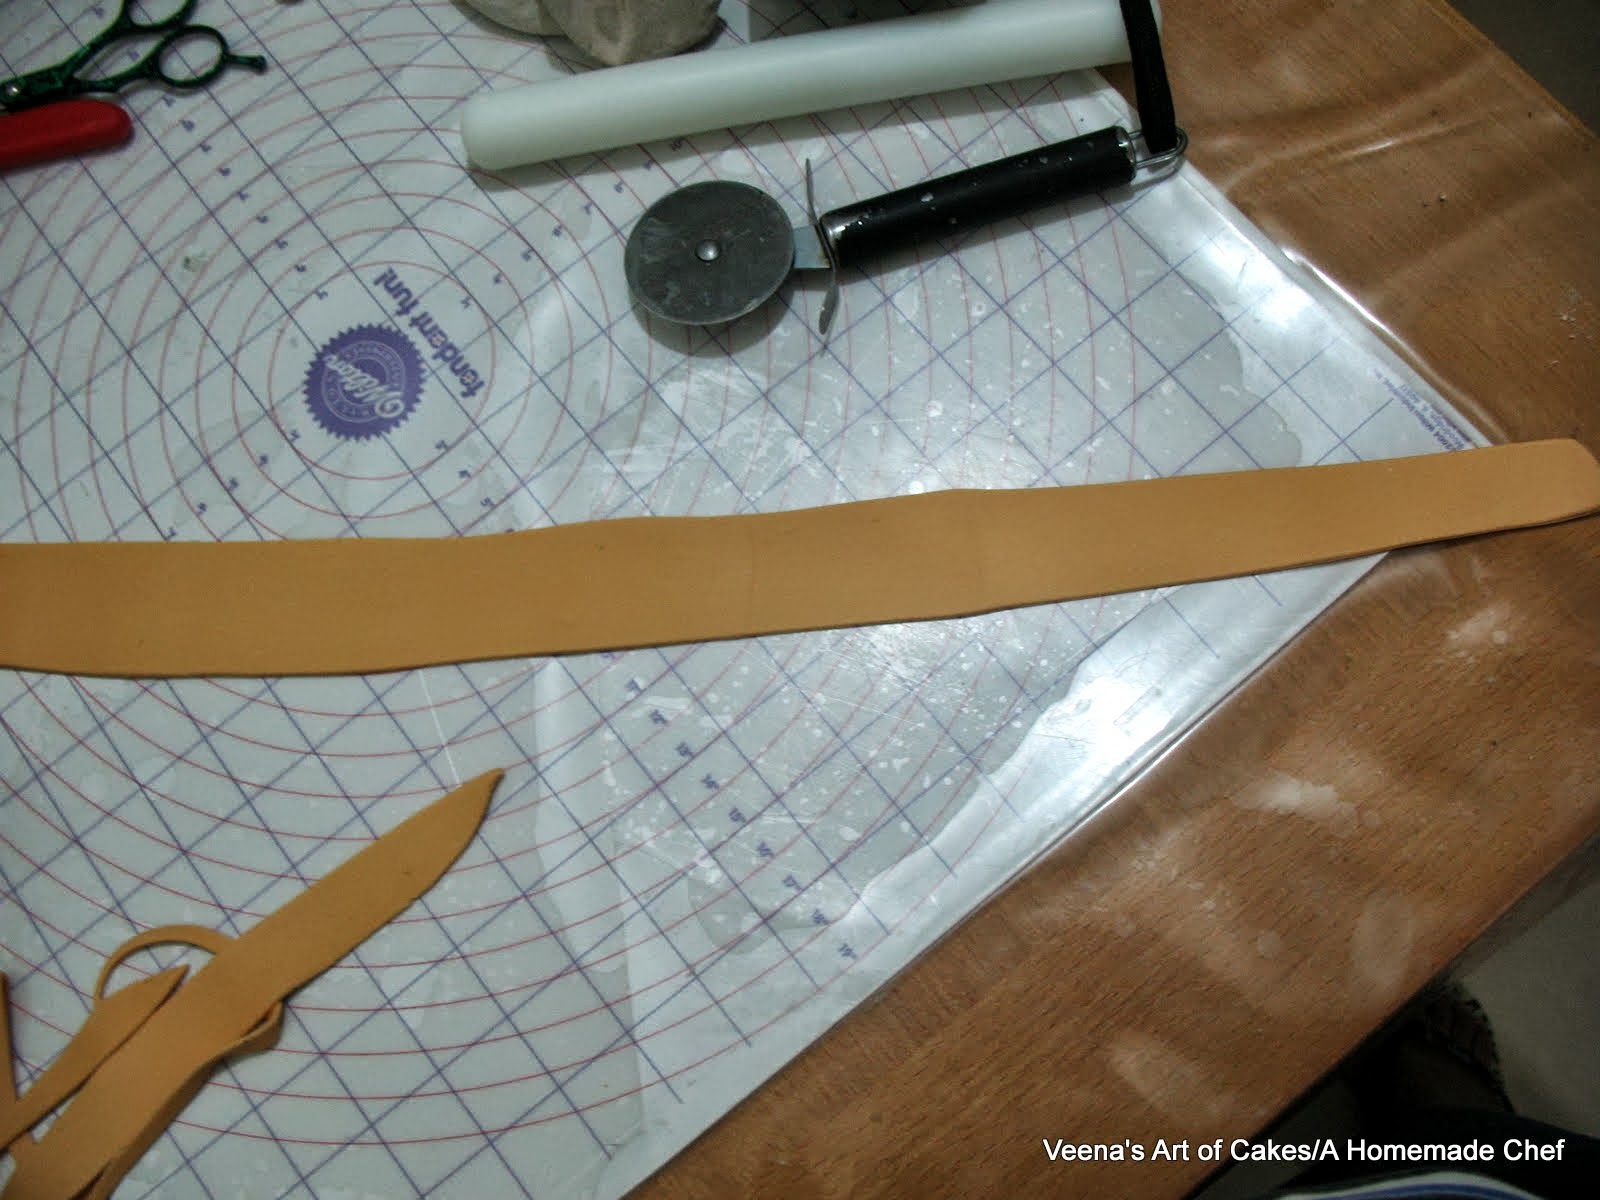
Second method.
Using the template cut only the first color. In my case black. Then when the top is fixed and a bit dry. Roll a long strip of the second color and glue that in place all around. Cutting off any excess around the shoe on the top.
Leave to dry completely.
Making the under-sole
Make sure the above is all dry before you can move on to the next step,
This is the under sole. Cut with the same template.
I did not cut the under sole as one part with the heel. But you can do that if you want. I just cut another strip and added to the heel as well.
Make a border
Next roll a long thin sausage by hand or using your extruder and place all around you shoe to give it a nice border.

Attach the heel.
Attach your heel in place with gum glue or Royal Icing. I prefer Royal Icing.
If you have any gaps you can use royal icing to fill the gap. Just make sure your RI is the same color as the heel and shoe so it's not visible.
I did not have any gap so cant' show you that.
And Voila! ...... here is the Stiletto
Make sure to use a damp paper towel to wipe off any stains. If you have deep stains use alcohol and a ear bud. Works like a charm.
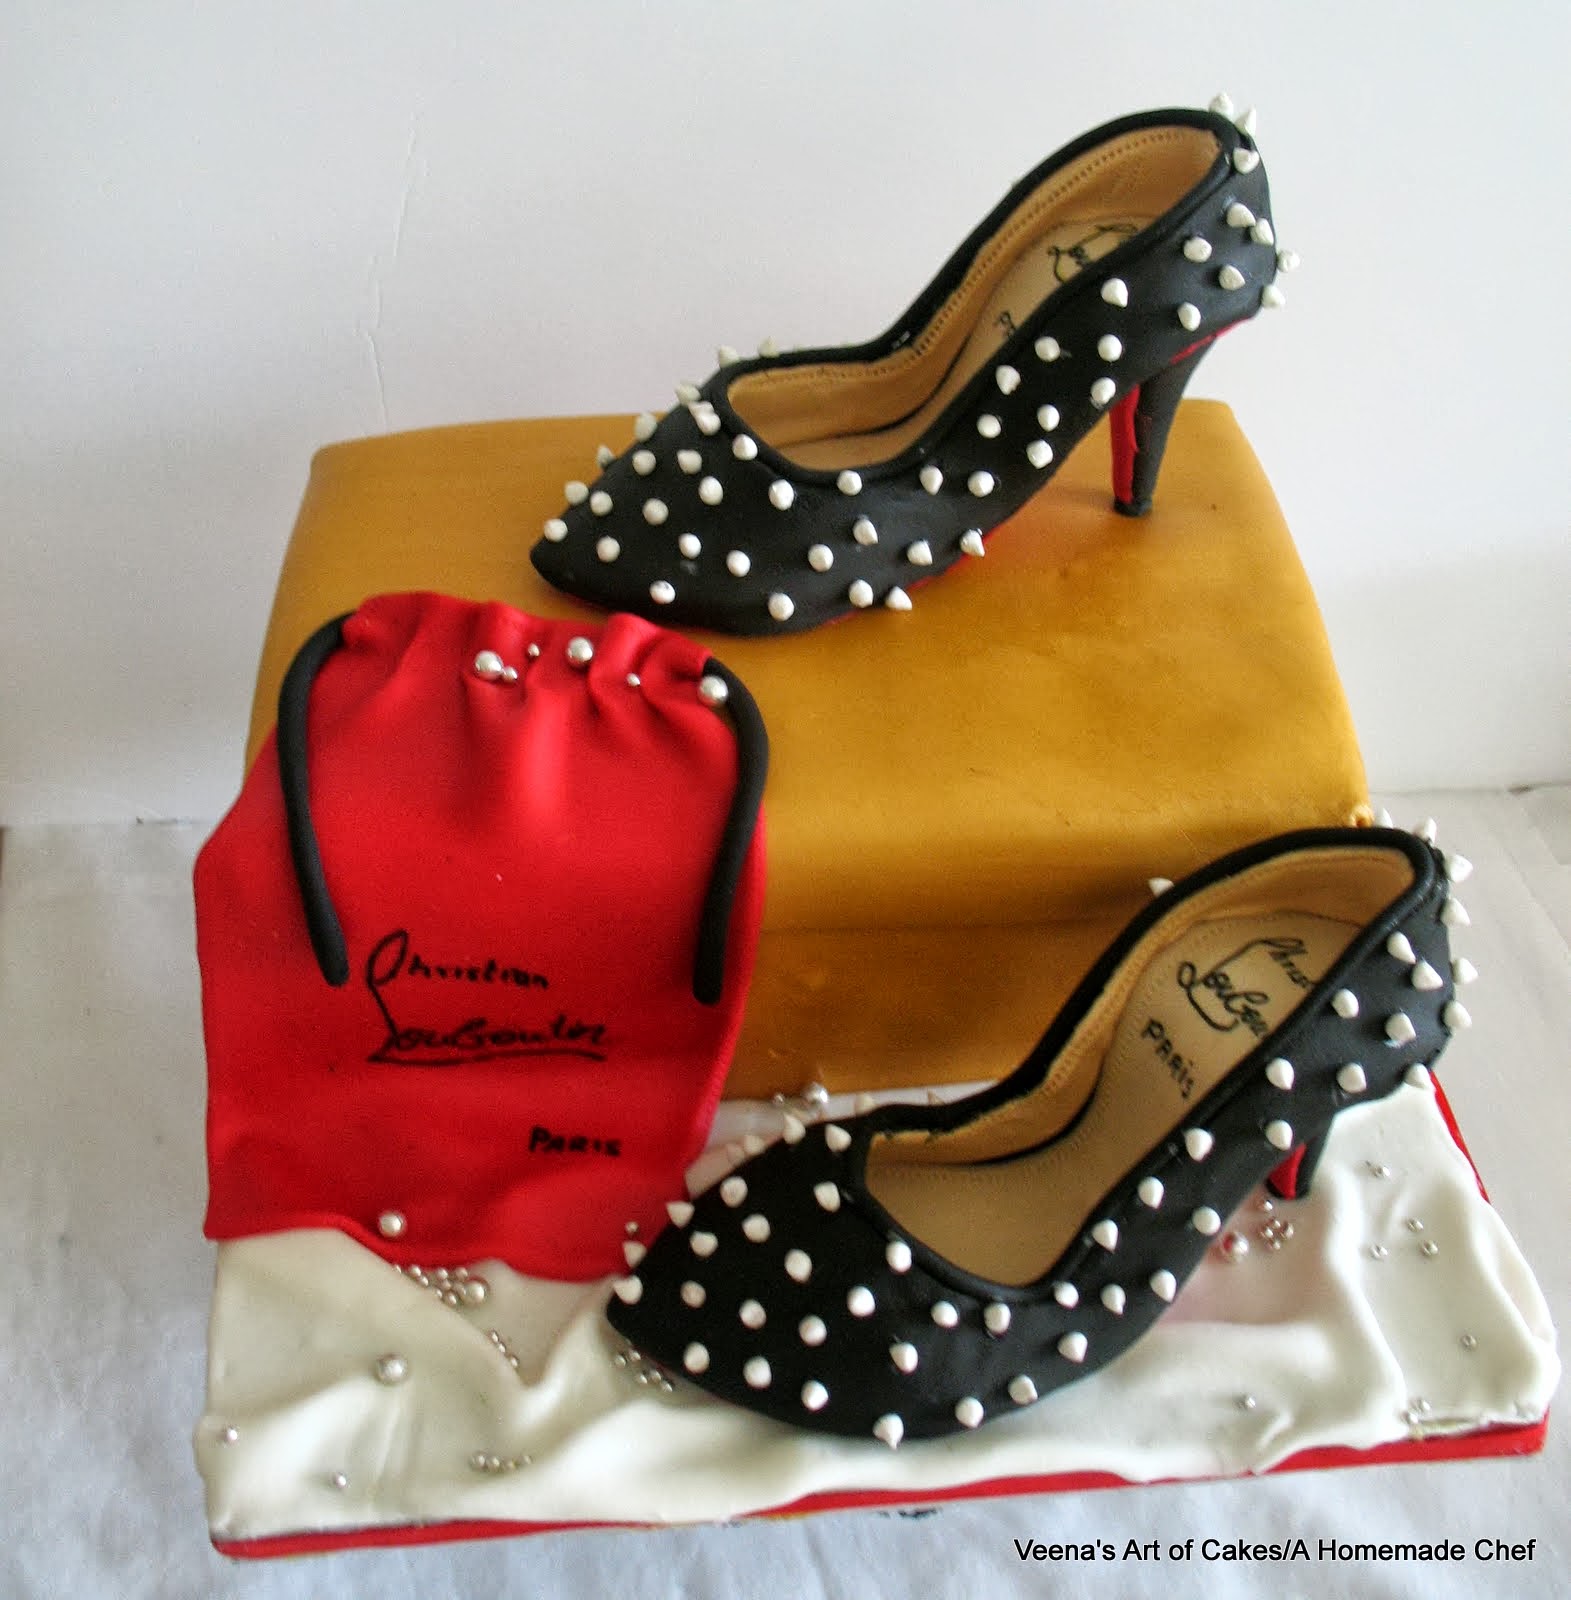
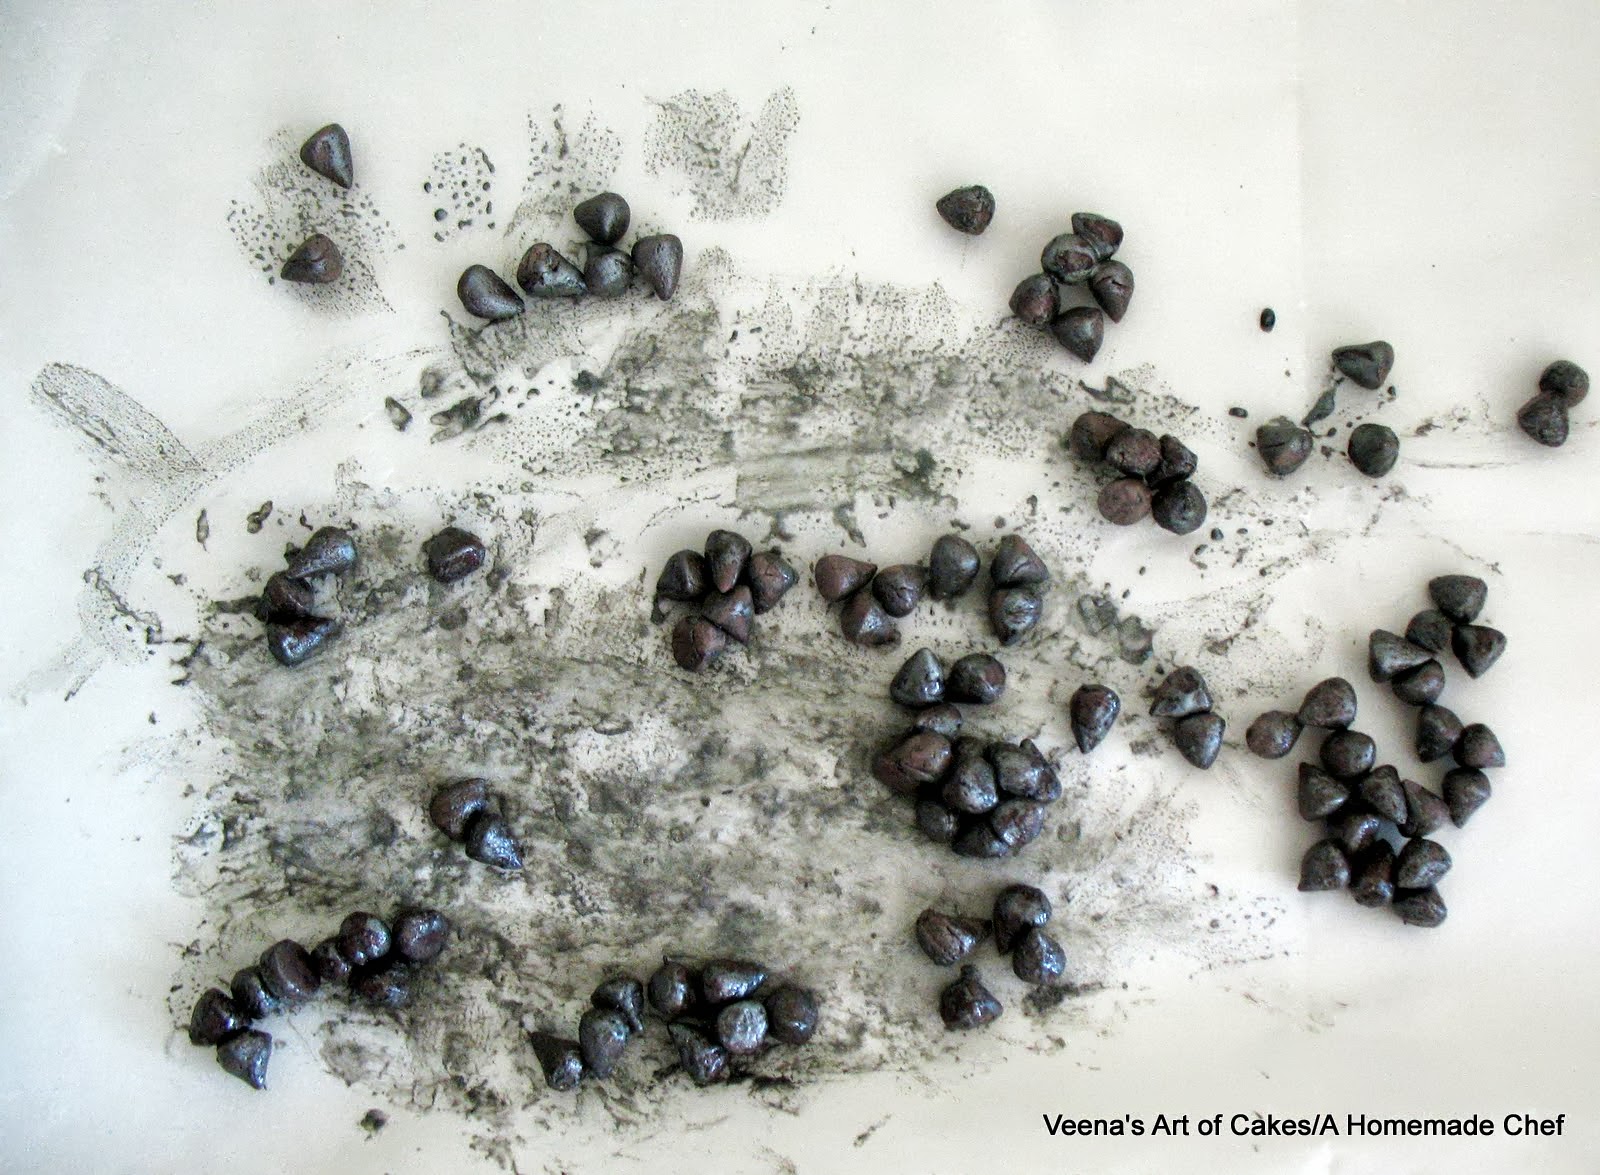
Next customize it..
I made hundred of these I think and then decided I did not like the silver effect. So I re-made them in white. Ah well..
And Here is the final product.
Placing the shoes --- I used a skewer in the heel to place the top shoe - The skewer went into the cake board so the weight on the shoes is on the board not on the cake.
The second shoe has a cocktail stick in the heel which was put in the cake board too so that way it wouldn't move in transit.


And that's how I made my Louboutin Shoe. I do hope you find it useful.
Thanks for stopping by.

0 comments:
Post a Comment